Less Gain Stage · utility · free

Gain staging with a measured readout

Less Gain Stage measures your level, you type the target, and it shows the difference to apply. Next to gain and polarity sits a stereo strip: full control from the untouched stereo image to mono, and a balance trim drawn on the same scale it is measured.

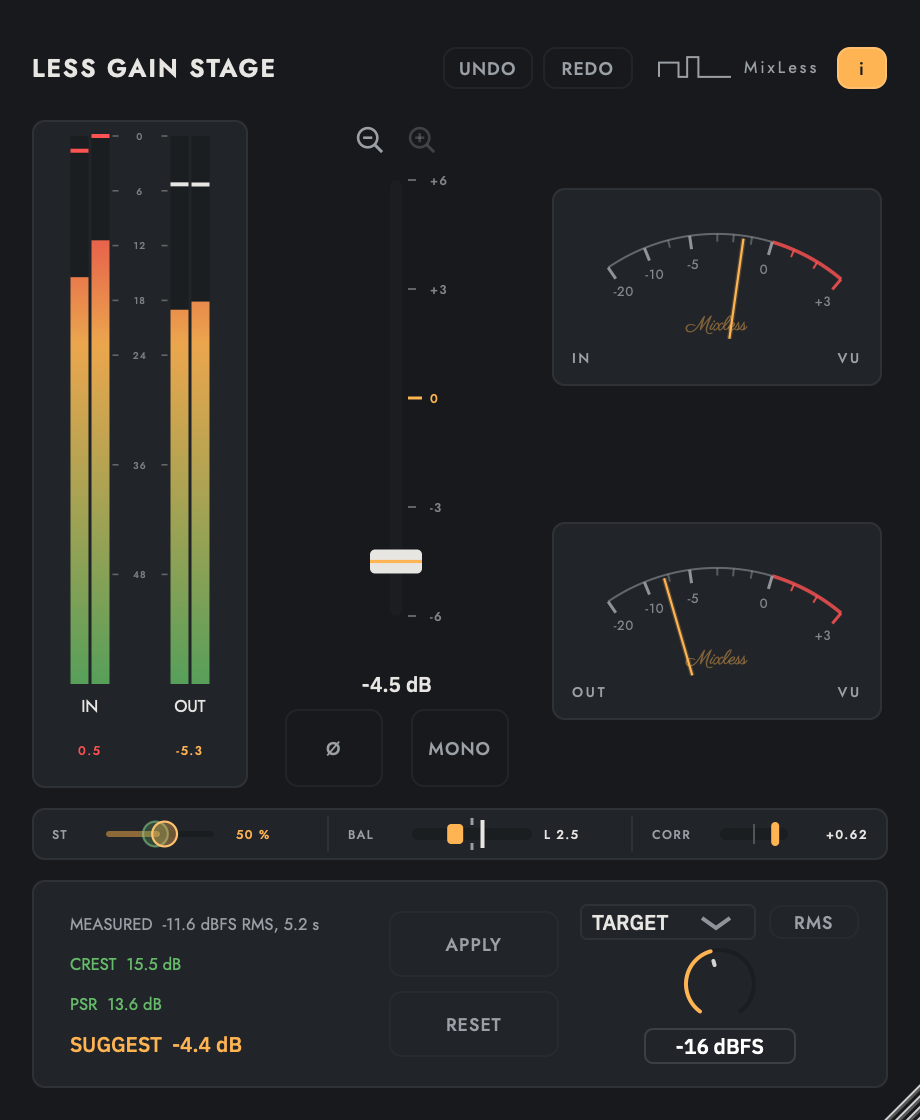
Less Gain Stage interface

Full control from stereo to mono

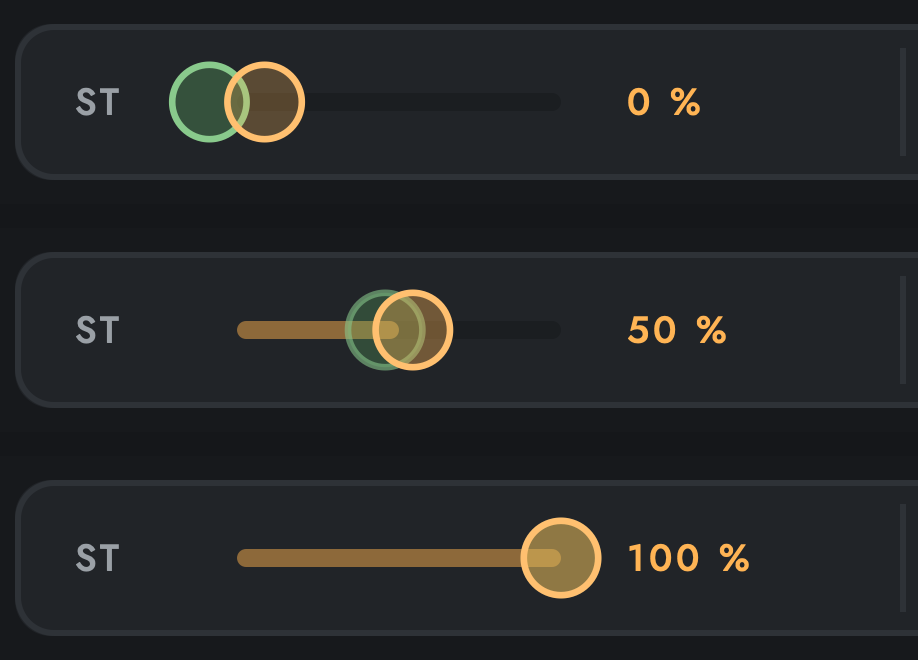
ST reaches every point between the untouched image at 0 and mono at 100 percent, where a mono switch offers only the two ends. MONO is the shortcut to 100, and it lights whenever the sound is mono, whether the button, the slider or automation put it there.

Balance on the scale it is measured

BAL trims left against right by up to 12 dB, half on each side. The handle sits on the same track as the measured balance, so centring a lopsided source means dragging until the bright line meets the notch.

Distance to target

The meter answers the actual question: how far from where you want to be, in dB. The target is a number you type, or another Gain Stage in the session.

Left and right metering

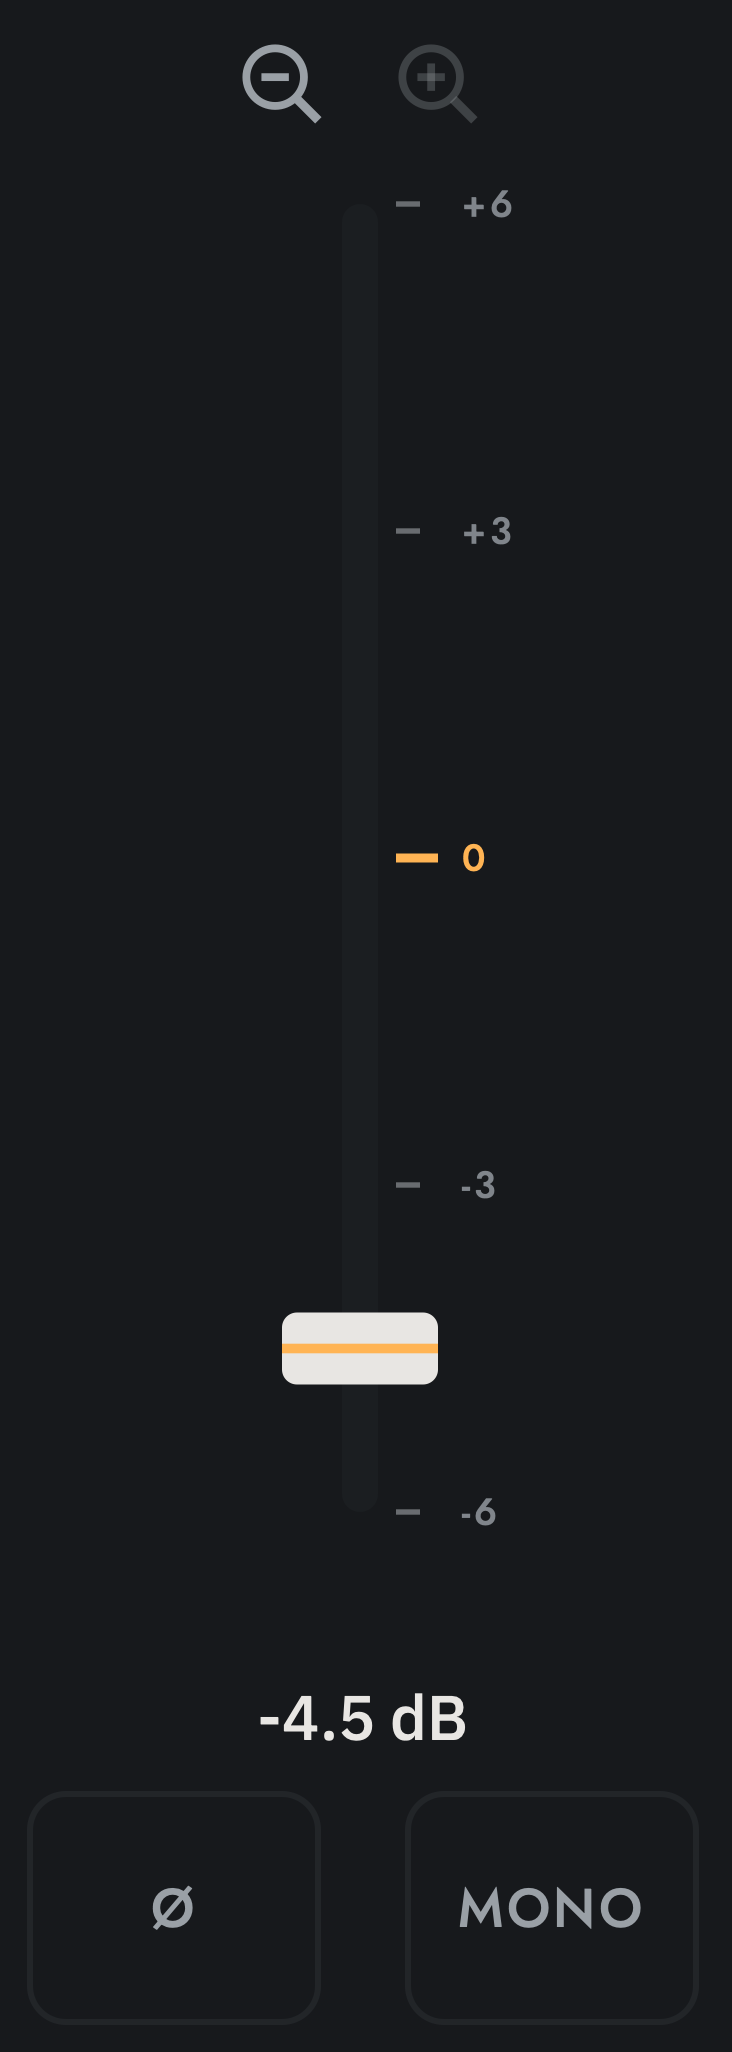
Input and output meters show each channel on one scale, with peak and RMS layers and a hold line per bar. The gain fader zooms to 6, 12 or 24 dB either side of zero for fine moves, and polarity is one button.

Specifications
FormatsAU, VST3
Latency0 samples
Default statenumerically transparent, tested at 1e-7
Measured
Default stateunity, checked by an equality test on every build

Full control of the stereo image

One strip holds a control, a correction and a measurement: ST folds, BAL corrects, CORR measures. They sit side by side and stay separate: one shows what you set, the other what the source is.

ST, BAL and CORR
ST, BAL and CORRST at 50 percent. BAL is trimmed 2.5 dB to the left, so the measured line sits on the centre notch. CORR reads +0.62: a source that folds to mono without losing much.
ST, drawn as two circles
ST, drawn as two circlesOne circle per channel. At 0 percent they sit apart and the image is untouched; as the fold moves toward mono they slide over each other, and at 100 they are one. The overlap is how far you have folded; CORR measures what the source already shares.
MONO lights when the sound is mono
MONO lights when the sound is monoMONO is the shortcut to ST 100, and its light follows the sound rather than the button: drag ST to the end by hand and it lights too. Press it to leave mono.

Meters, fader and target

The strip is one part of the panel. The rest answers the same question from other sides: how loud it is now, how loud it feels, and how far that is from where you want to be.
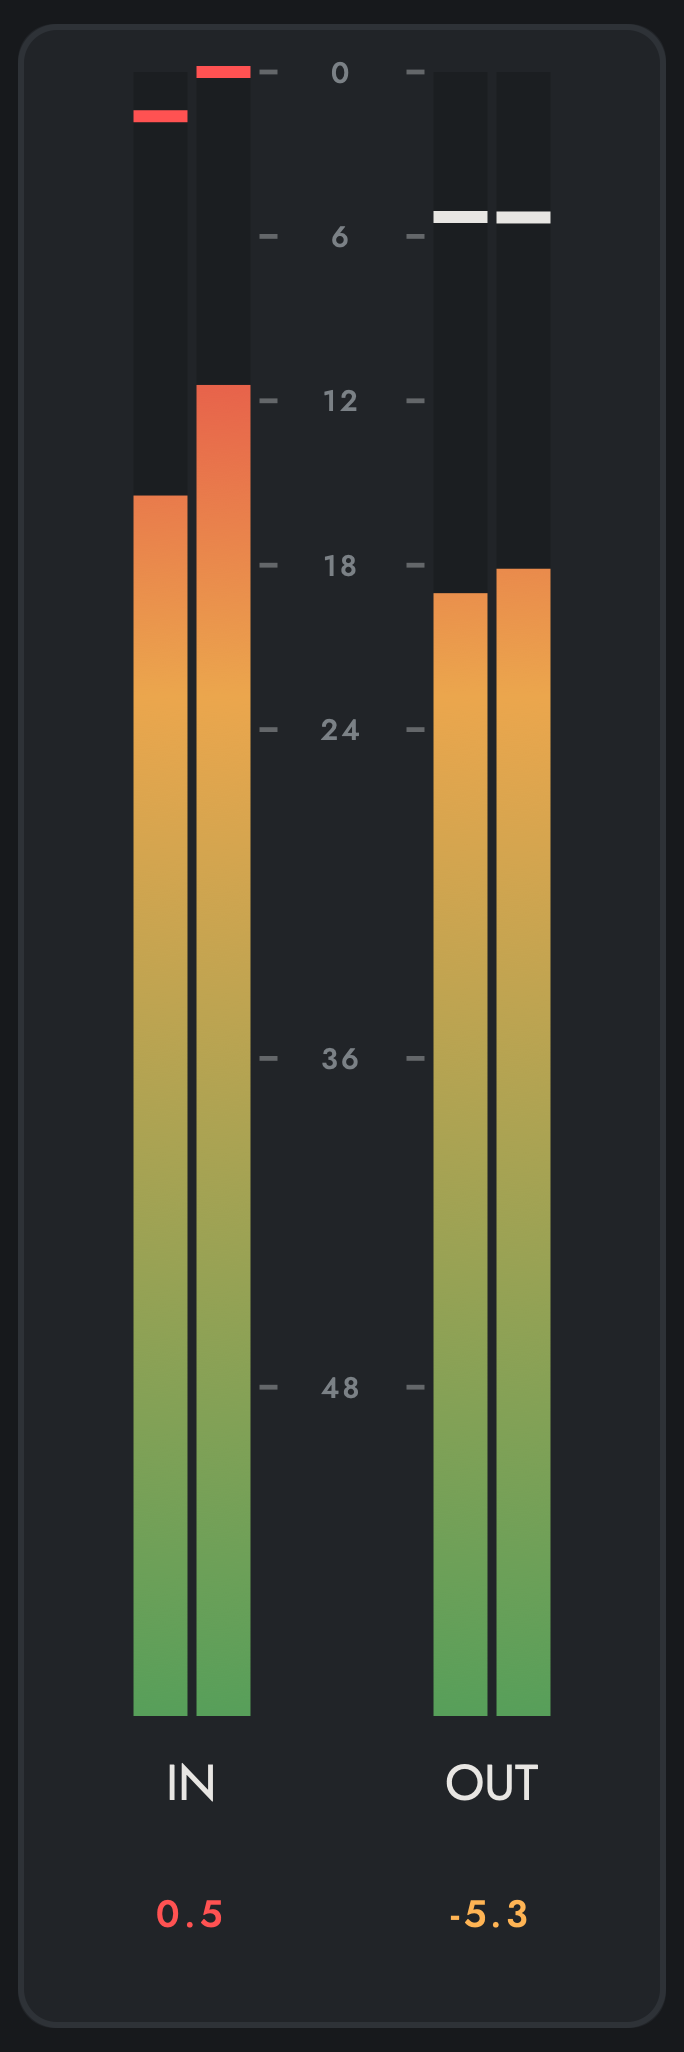
Input and output, left and right
Input and output, left and rightFour bars on one scale: input left and right, output left and right. Each bar has a peak and an RMS layer and holds its own peak line. Click a bar to release the line and clear clipping. One averaged bar per side used to hide the louder channel.
The fader and its zoom
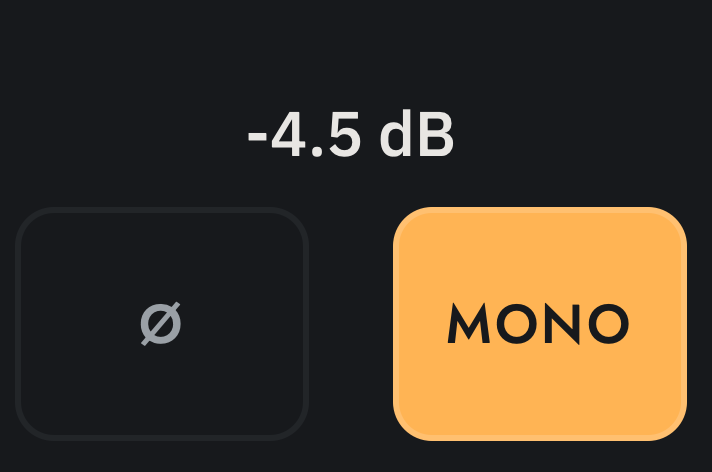
The fader and its zoomThe fader runs from 60 dB down to 24 up. The two magnifiers step its window to 6, 12 or 24 dB either side of zero for fine moves, and the value stays where it is; automation always sees the full range. Double click returns to 0 dB. The Ø button next to MONO flips polarity.
VU dials, where zero is your target
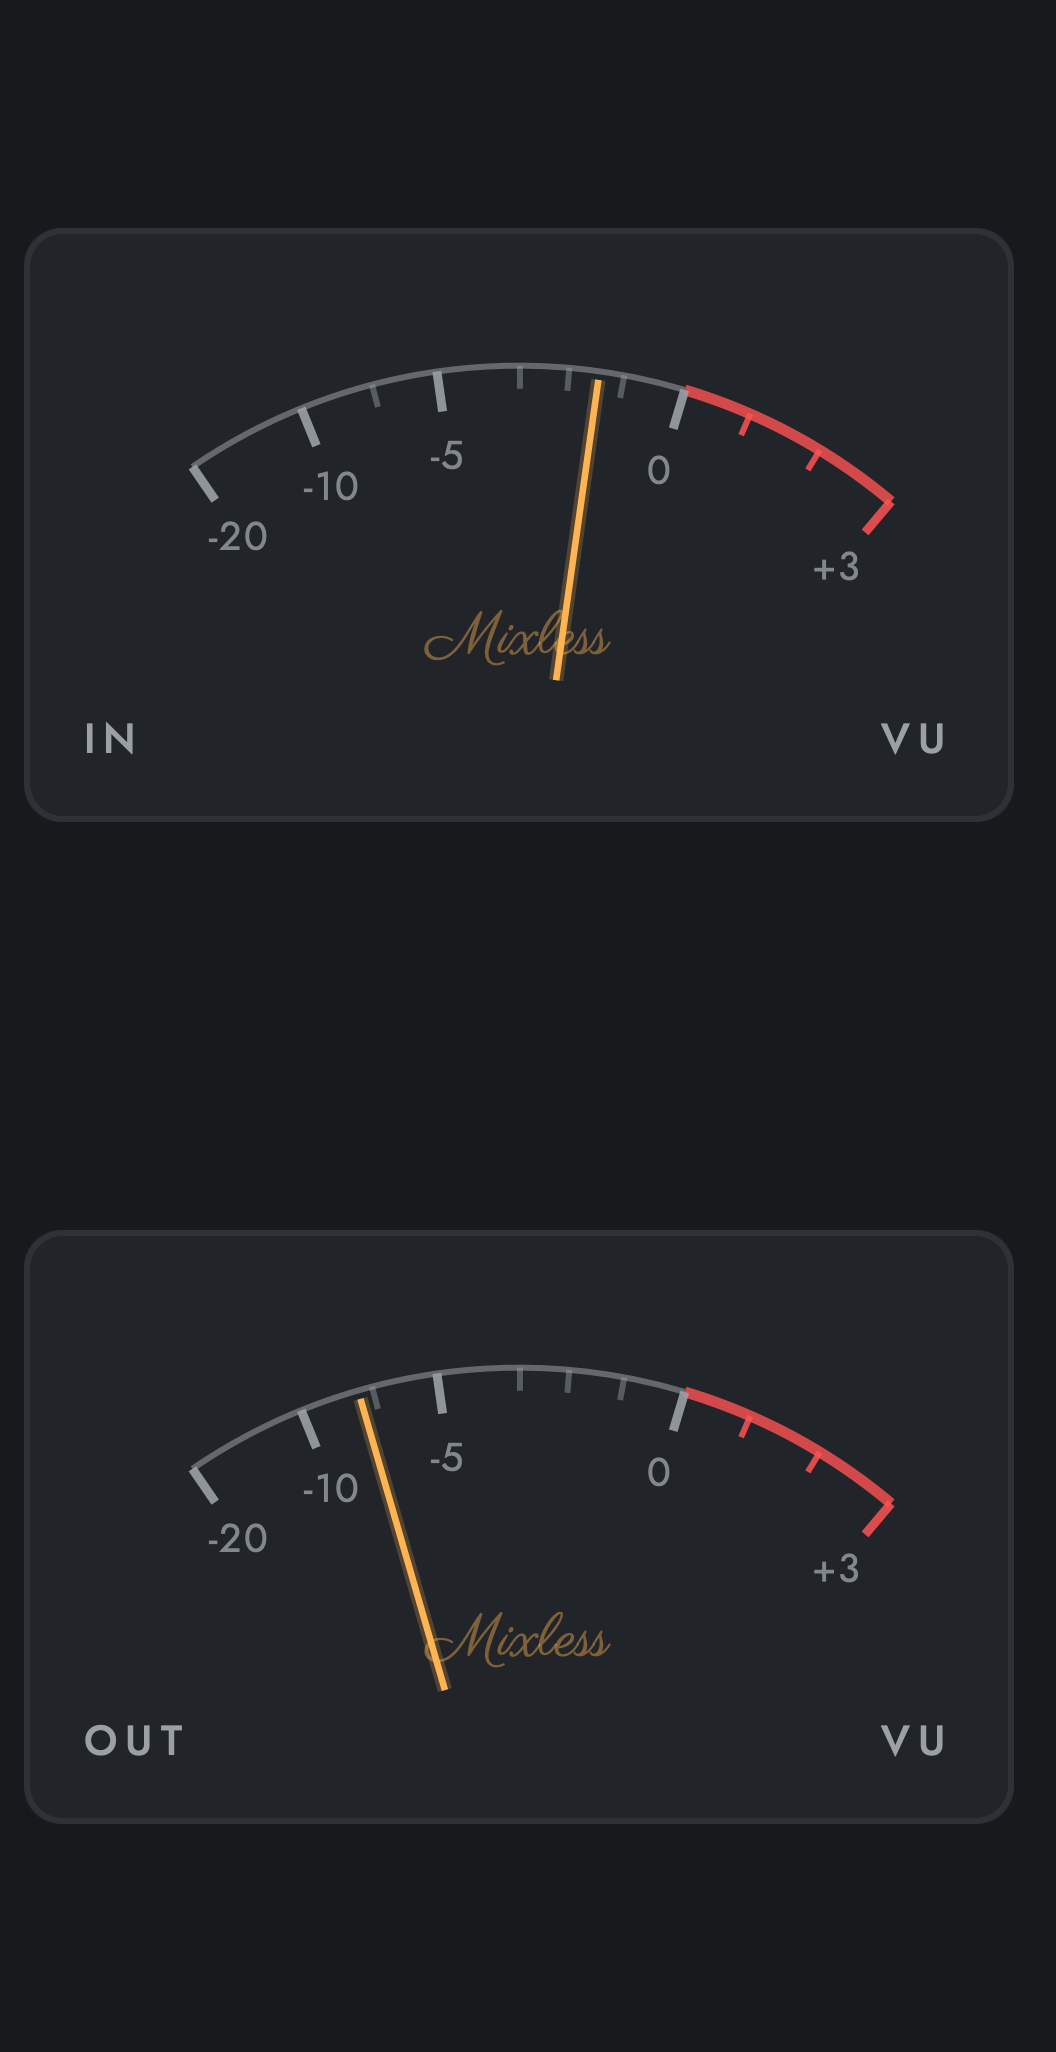
VU dials, where zero is your targetThe bars answer the fast question, the dials the slow one: how loud it feels. Zero VU is the target you set, so a needle resting on zero means you are there. The dials are always on, because a switch would ask you to decide the same thing every session.
Measured, suggested, applied
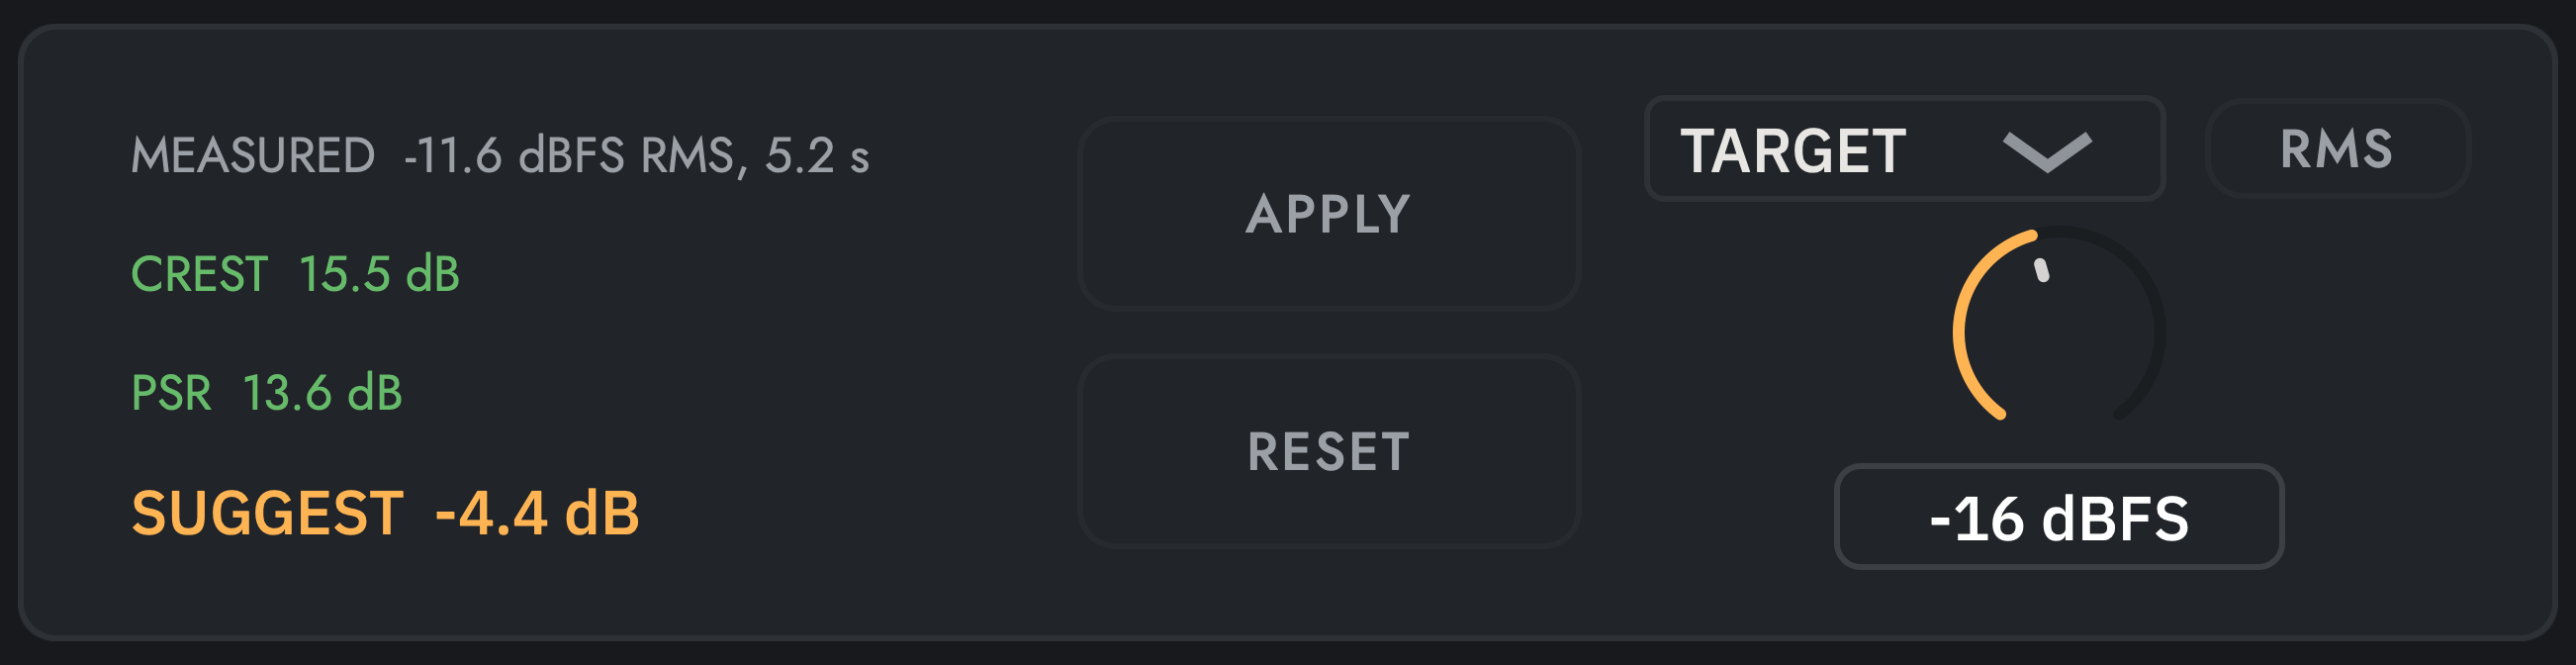
Measured, suggested, appliedThe readout measures the input, in RMS or LUFS, with crest and PSR beside it. SUGGEST is the gain that lands you on the target, APPLY sets it, RESET starts the measurement again. The target is a number you type, or another Gain Stage in the session.