The display above is the plugin's own drawing code, running here in the page.
The first minute
| Do | What happens |
|---|---|
| Put it last, once the meter is telling the truth | The limiter is the final stage. Anything after it can undo the ceiling it just held. |
| Set the ceiling first, not the gain | Minus one dBTP is the safe default for streaming. Decide the ceiling, then push into it. |
| Raise the input until the reduction meter moves | One to three decibels on peaks is a normal working range. Ten is a decision, not an accident. |
| Listen to what it costs, not to how loud it got | Bypass and match levels by ear. If the limited version only wins because it is louder, it is not winning. |
Reading the screen
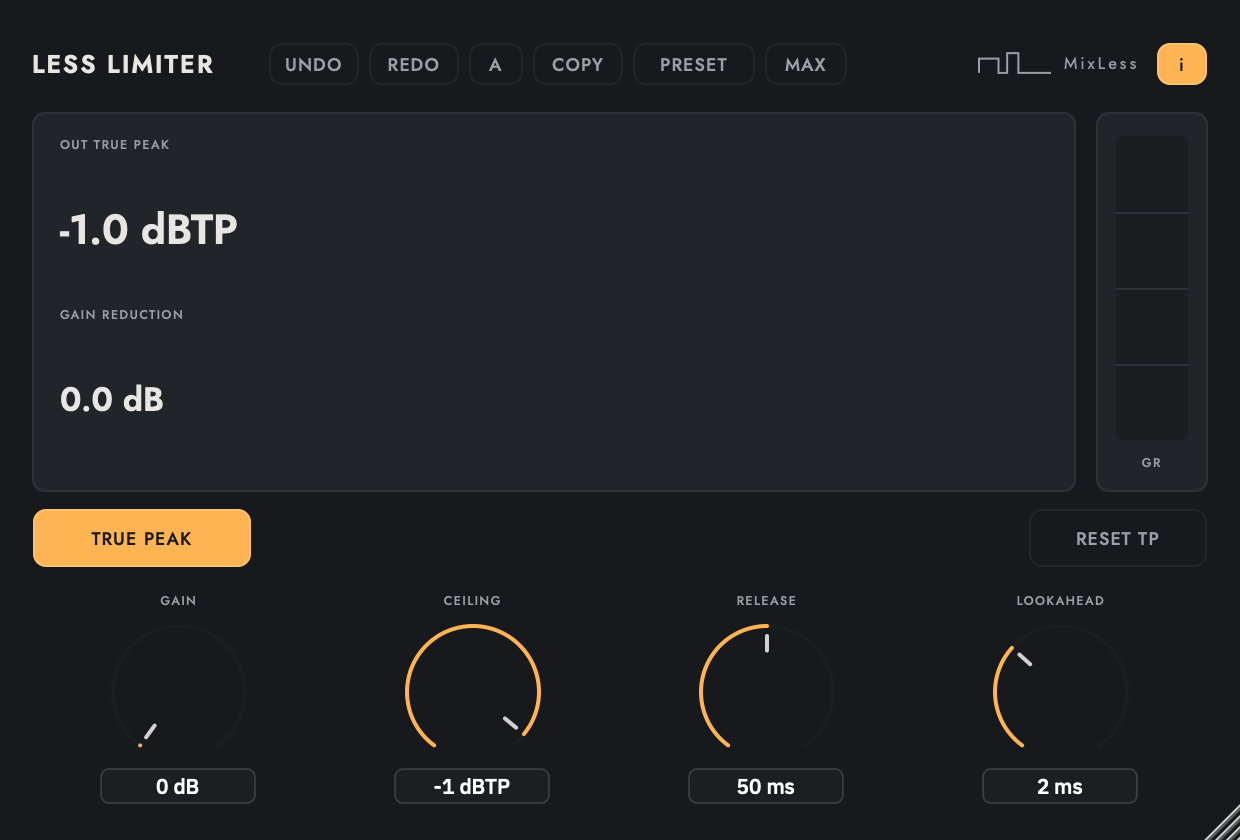
The ceiling is measured between samples, not on them, so the number is the true peak an encoder sees at its input. The reduction meter shows what is being taken off the top at this instant.
| What you see | What it means |
|---|---|
| The ceiling line | Nothing crosses it. That is the whole job. |
| The waveform under it | What is left after limiting. Flattened tops mean you are pushing hard. |
| The reduction meter | Decibels being removed right now. |
| Lookahead | The limiter sees peaks before they arrive, so it can duck smoothly instead of clamping. |
The controls
| Control | What it does |
|---|---|
| CEILING | The true peak level nothing may exceed. |
| INPUT | How hard you drive into the ceiling. |
| RELEASE | How quickly it lets go after a peak. Too fast distorts the low end, too slow pumps. |
| LOOKAHEAD | How far ahead it looks. More is smoother and costs latency. |
How to work with it
Decide the ceiling from where the file is going: minus one dBTP for streaming, lower if the encoder is unknown. Everything after that is a taste question, and the ceiling stays a fact.